Using the SAML protocol, OnPage can configure single sign-on (SSO) to external identity providers (IdPs) like Microsoft Entra and Microsoft Active Directory.
SSO comes with the following benefits
- Single-click Login: This eliminates the need to remember both your password and OnPage ID, saving you time.
- User Provisioning: Once Microsoft grants access, OnPage creates user accounts on-demand.
- Remove User Access: Administrators can easily take away an employee’s OnPage access within the SSO provider after an employee leaves the company.
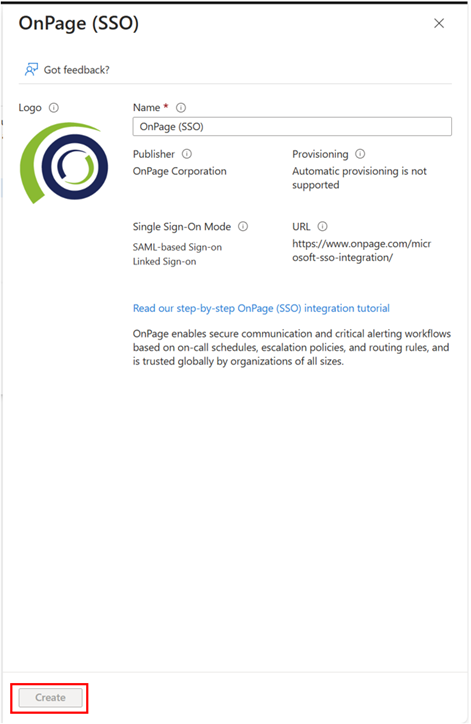
Adding OnPage (SSO) application from the Entra gallery
To set up OnPage SSO integration with Microsoft Entra ID, follow these steps to add OnPage (SSO) from the gallery to your list of enterprise applications:
- Log into your Microsoft Entra admin center.
- Go to Identity > Applications > Enterprise Applications > New Application.
- The Browse Microsoft Entra Gallery opens.
- Search for OnPage (SSO) and click Create.
Configure Microsoft Entra SSO
In Microsoft Entra
Follow these steps to enable Microsoft Entra SSO.
- Sign in to the Microsoft Entra admin center.
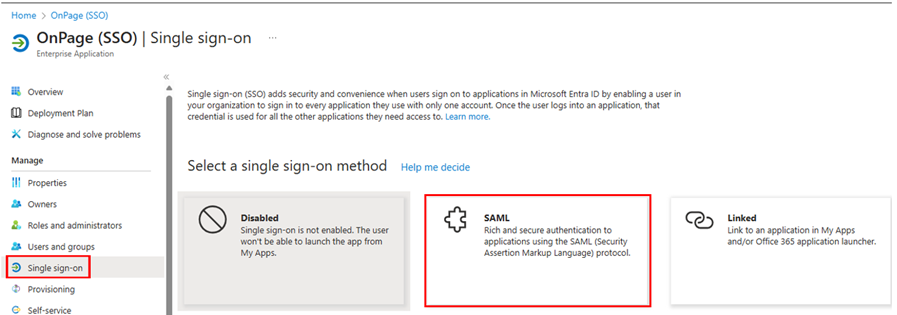
- Go to Identity > Applications > Enterprise applications > OnPage > Single sign-on.
- On the Select a single sign-on method page, select SAML.
- On the Set up single sign-on with SAML page, click the Edit pencil icon for Basic SAML Configuration to edit the settings.
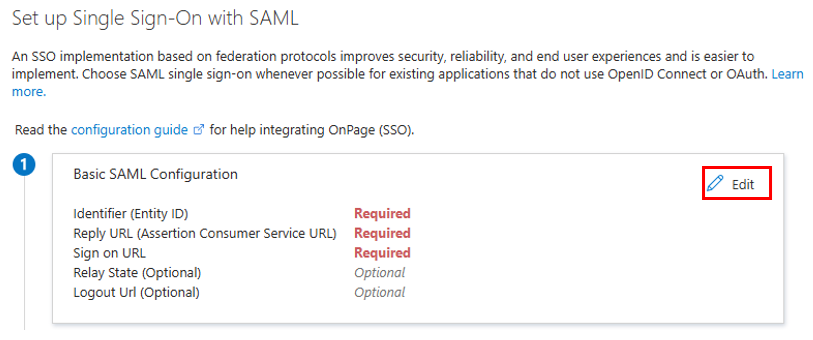
- In the Basic SAML Configuration section, you need to provide the mandatory URLs
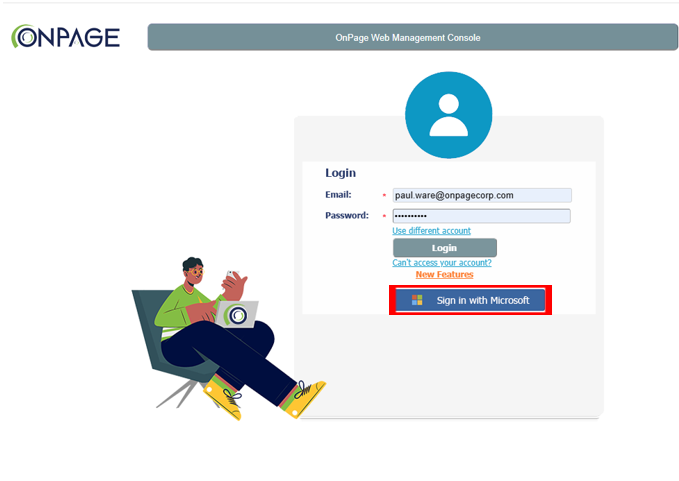
- Login into your OnPage web management console.
- Click on Integrations.
- Login with your OnPage system administrator credentials.
- Click Settings on Microsoft Single Sign-On.
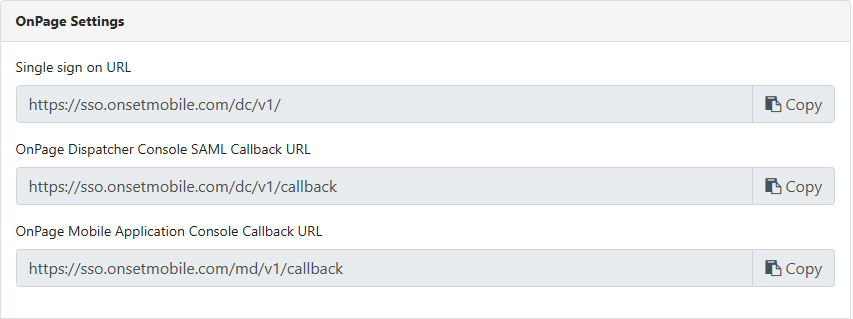
- Under OnPage Settings, Copy the Single sign on URL and paste it in Sign on URL field under Basic SAML Configuration in Microsoft Entra.
- Under OnPage Settings, Copy OnPage Dispatcher Console SAML Callback URL and OnPage Mobile Application Console Callback URL and add them as Reply URL (Assertion Consumer Service URL) under Basic SAML Configuration in Microsoft Entra.
- Under Identifier (Entity ID) enter: https://sso.onpage.com.
- Under Reply URL (Assertion Consumer Service URL), enter the four URLs below:
- https://sso.onpage.com/ic/v1/callback
- https://sso.onpage.com/rc/v1/callback
- https://sso.onpage.com/md/v1/callback
- https://sso.onpage.com/dc/v1/callback
- Save

- On the Set up single sign-on with SAML page, in the SAML Certificates section, find Certificate (Base64) and select Download to download the certificate and save it on your computer.
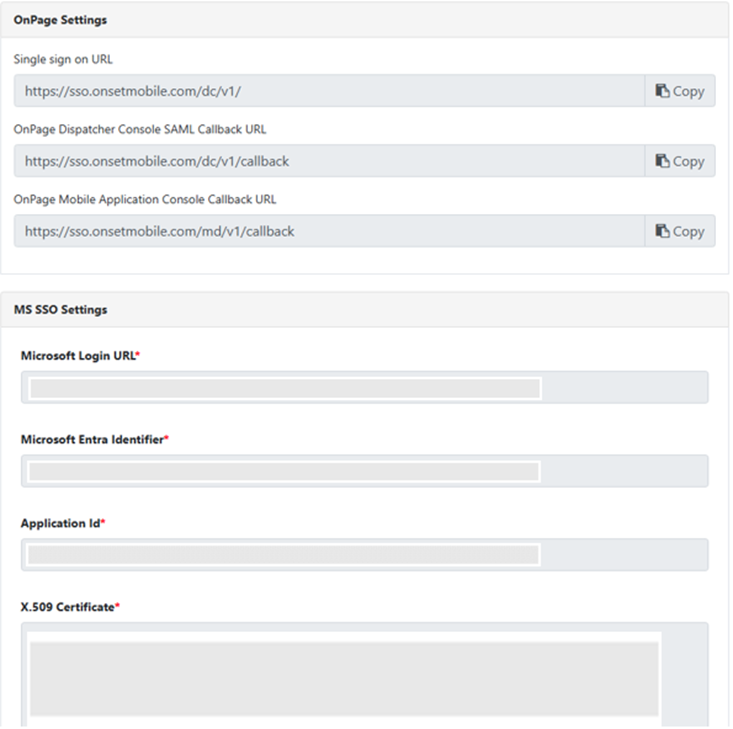
- Copy and paste the Certificate (Base64) to X.509 Certificate under MS SSO Settings.
- On the Set up single sign-on with SAML page, in the Set up OnPage (SSO) section, copy the Login URL and Microsoft Entra Identifier and paste it under Microsoft Login URL and Microsoft Entra Identifier in MS SSO Settings.
- In Entra, click on Application Overview, copy the Application ID and paste it in Application Id under MS SSO Settings.
After successfully creating the OnPage application, you can start adding users.
All users added to the OnPage application in Entra but also existing in your OnPage enterprise as contacts or administrators will be able to log into the OnPage Enterprise and/or Mobile application.